
By Bill Church
Blog Post #1
One year ago WMSI supported Profile High School students in their effort to launch a weather balloon to an elevation of ~20,000 feet and back again. This year, we teamed up again with Profile students in the STEAM Design class to launch a high altitude balloon (HAB) to a region in the Stratosphere near 100,000 feet above earth called "near space". We wish to express thanks the following groups who have helped our Profile/WMSI effort to reach near space: Profile Students in the 2015 and 2016 STEAM Design class; Profile staff; Profile administration; White Mountain Science; North Country Education Services; Littleton Amateur Radio Club; and many other friends of our efforts.
In the next three blog entries, we will document our HAB's launch, recovery, and photos from our flight.
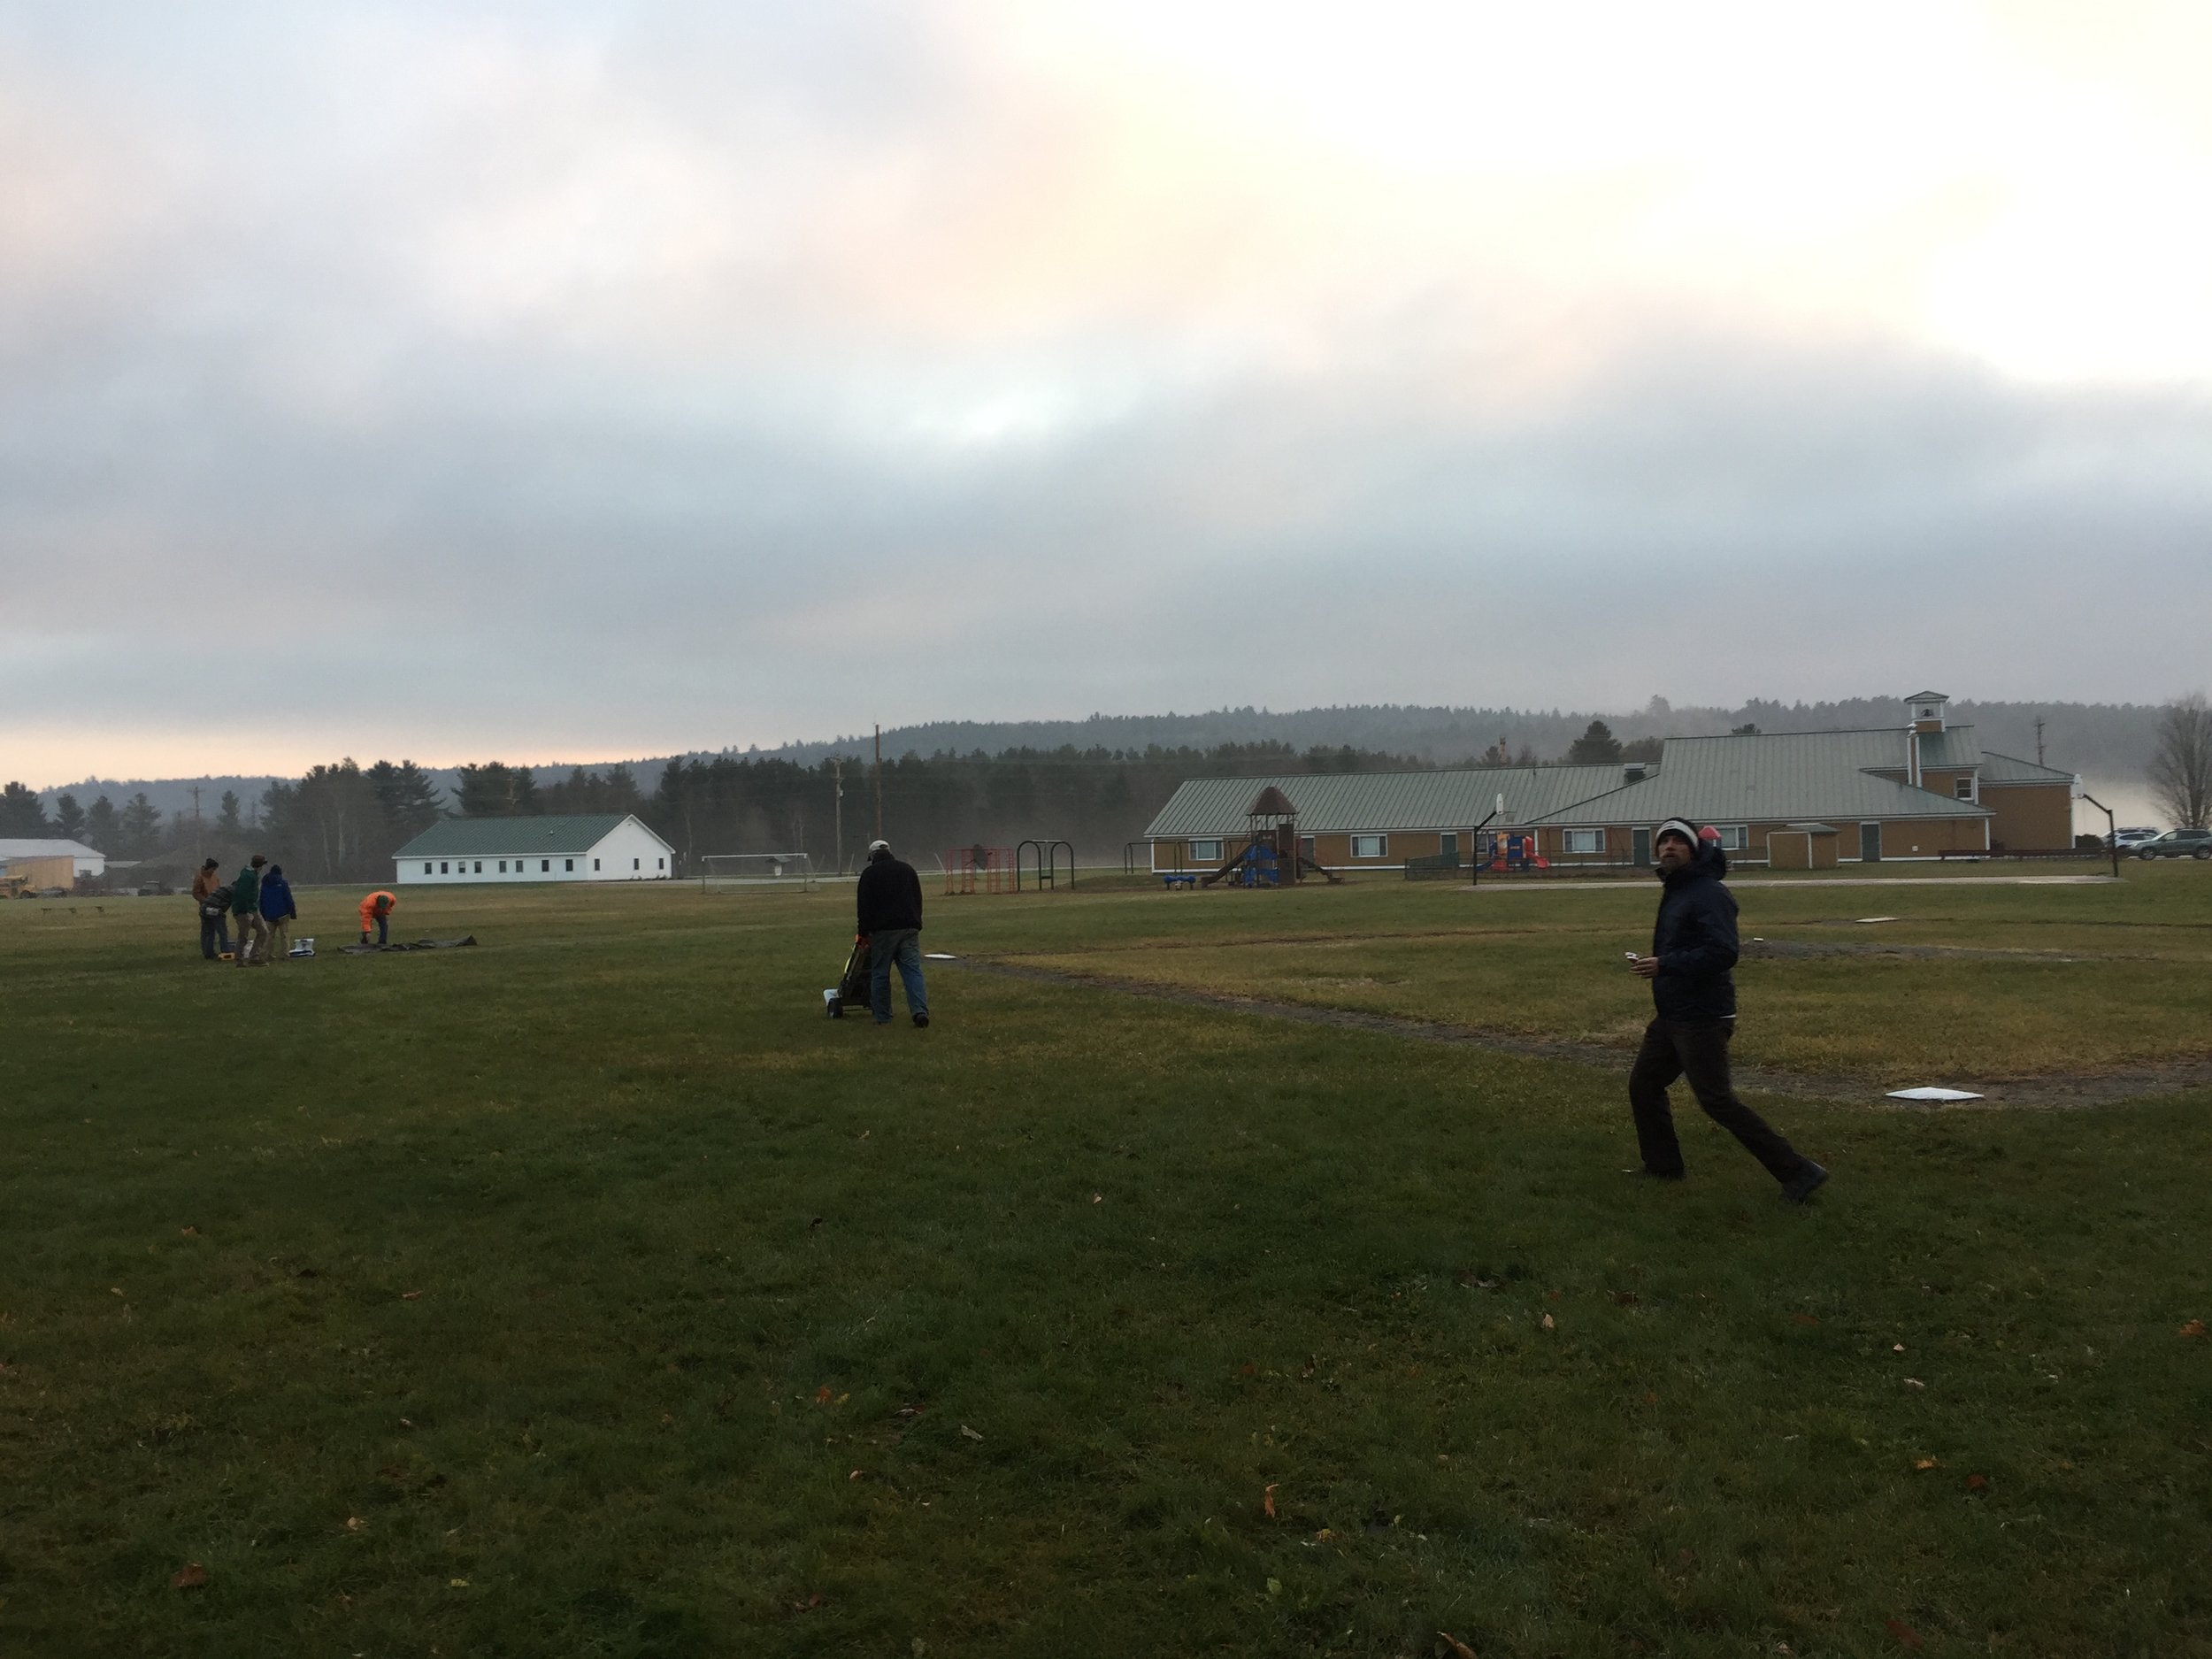
Arriving at our launch site at the Lowell Graded School, Lowell, VT.
The Launch

Setting up the launch pad.
There was a pause on the other end of the phone when I called the Lowell Graded School in Lowell, VT on Thursday, November 17th. I was calling to ask whether we could launch our weather balloon from the sports fields behind their school. To break the silence, I said, "I bet you have never had that request before." A chuckle from the other end of the phone was audible before I was put on hold.
Next, I spoke with Lowell's principal, Anita Gagner and explained why a school group in New Hampshire would want to launch from Vermont. On November 18th, the winds in the high altitude jet stream would be favorable for a launch from Vermont to land in a recoverable region of New Hampshire's north country. Ms. Gagner was in full support of our project. We had a launch site!

The largest party balloon ever! Thank you to Air Gas of St. Johnsbury, VT for donating the helium!
Also in support of our project was the FAA. Profile's STEAM Design teacher, Kevin Briere, submitted our flight plan to the FAA via the NOTAM process and obtained their approval. Are there special considerations you need to take into account when launching a balloon? Yes, we designed our system to stay within the FAA's Part 101 Regulations to ensure ground and aircraft safety.
With key approvals in hand, our launch team of four students, two Profile staff members, and two WMSI staff members arrived in Lowell, VT shortly after 7am on November 18th. We quickly assembled our launch pad (tarp), tools for final assembly of our payload box, a large weather balloon, and a tank of helium donated by Air Gas of St. Johnsbury, VT.
In order to lift our 1.5 kg (approximately 3 pounds) payload box, a team inflated a weather balloon from High Altitude Science to approximately 6 feet in diameter. At the same time another team double checked and powered up our payload computer, our two cameras, and our release mechanism.

The balloon system required "some assembly". Students assemble the protective box around the Pi in the Sky payload computer.
Our payload computer was based on the popular, tiny, and affordable educational computer platform, Raspberry Pi. With an add-on circuit board called the Pi in the Sky, our balloon radioed its location to us on the ground using Amateur Radio frequencies. In 2015, I received my Amateur Radio license to facilitate high altitude balloon projects such as this Profile flight.
We also used two Canon Powershot cameras to take photos during the flight. In 2015, Profile students researched a method for programming a Canon Powershot camera to take pictures every X seconds. This method utilized the CHDK software package and worked extremely well for automating our aerial photography.
Finally, Profile students double checked and powered on the secondary balloon release mechanism. The FAA requires two release mechanisms for a balloon flight to avoid unexpected "floaters" which do not pop in the high altitude but float with the jet stream at a near constant altitude. The first mechanism was the balloon itself. Balloons expand to balance internal pressure with reduced external air pressure as they rise higher in altitude; however, balloons can only expand so far before they pop. If they do not pop, a 2nd release mechanism is used as a back-up. In our case, students worked on building a nichrome (i.e. 'hot' wire) based release system based on a modified version of some researched circuit plans and inspiration from UNH's Project SMART HAB program.

Glue guns and rigid foam insulation are a part of Profile's near space vehicle construction kit! Here, the final touches are being applied to the mandatory back-up balloon release mechanism. The primary balloon release occurs when the balloon pops at its highest altitude.
Next, we double checked our radio systems to make sure that balloon telemetry data was being successfully transmitted and received. Telemetry means 'remote measurement' and for us consisted of the GPS coordinates for the balloon in flight. This was essential to help us determine the location / altitude of our sky photos, compare our predicted flight path with the actual flight path, and determine the final location of our system after it returned to earth. All systems were a go. Sort of. Hindsight is 20:20 and as you will learn in our Recovery blog post, we were soon to discover that one and then two out of three of our telemetry/radio systems would fail! At approximately 8:30am, however, we were blissfully unaware and proceeded with our final steps before launch.
Our final steps included conducting a final lift measurement, sealing our entire box, securing our payload to the balloon and sorting out our parachute. With those steps complete, we extended out the balloon, then the parachute, and then (3...2...1...) the payload box was off to the stratosphere!
Next blog post: The Recovery - lessons in failure and persistence.

Checking our communication system. Would 'ET' phone home? As it turned out, yes and no!
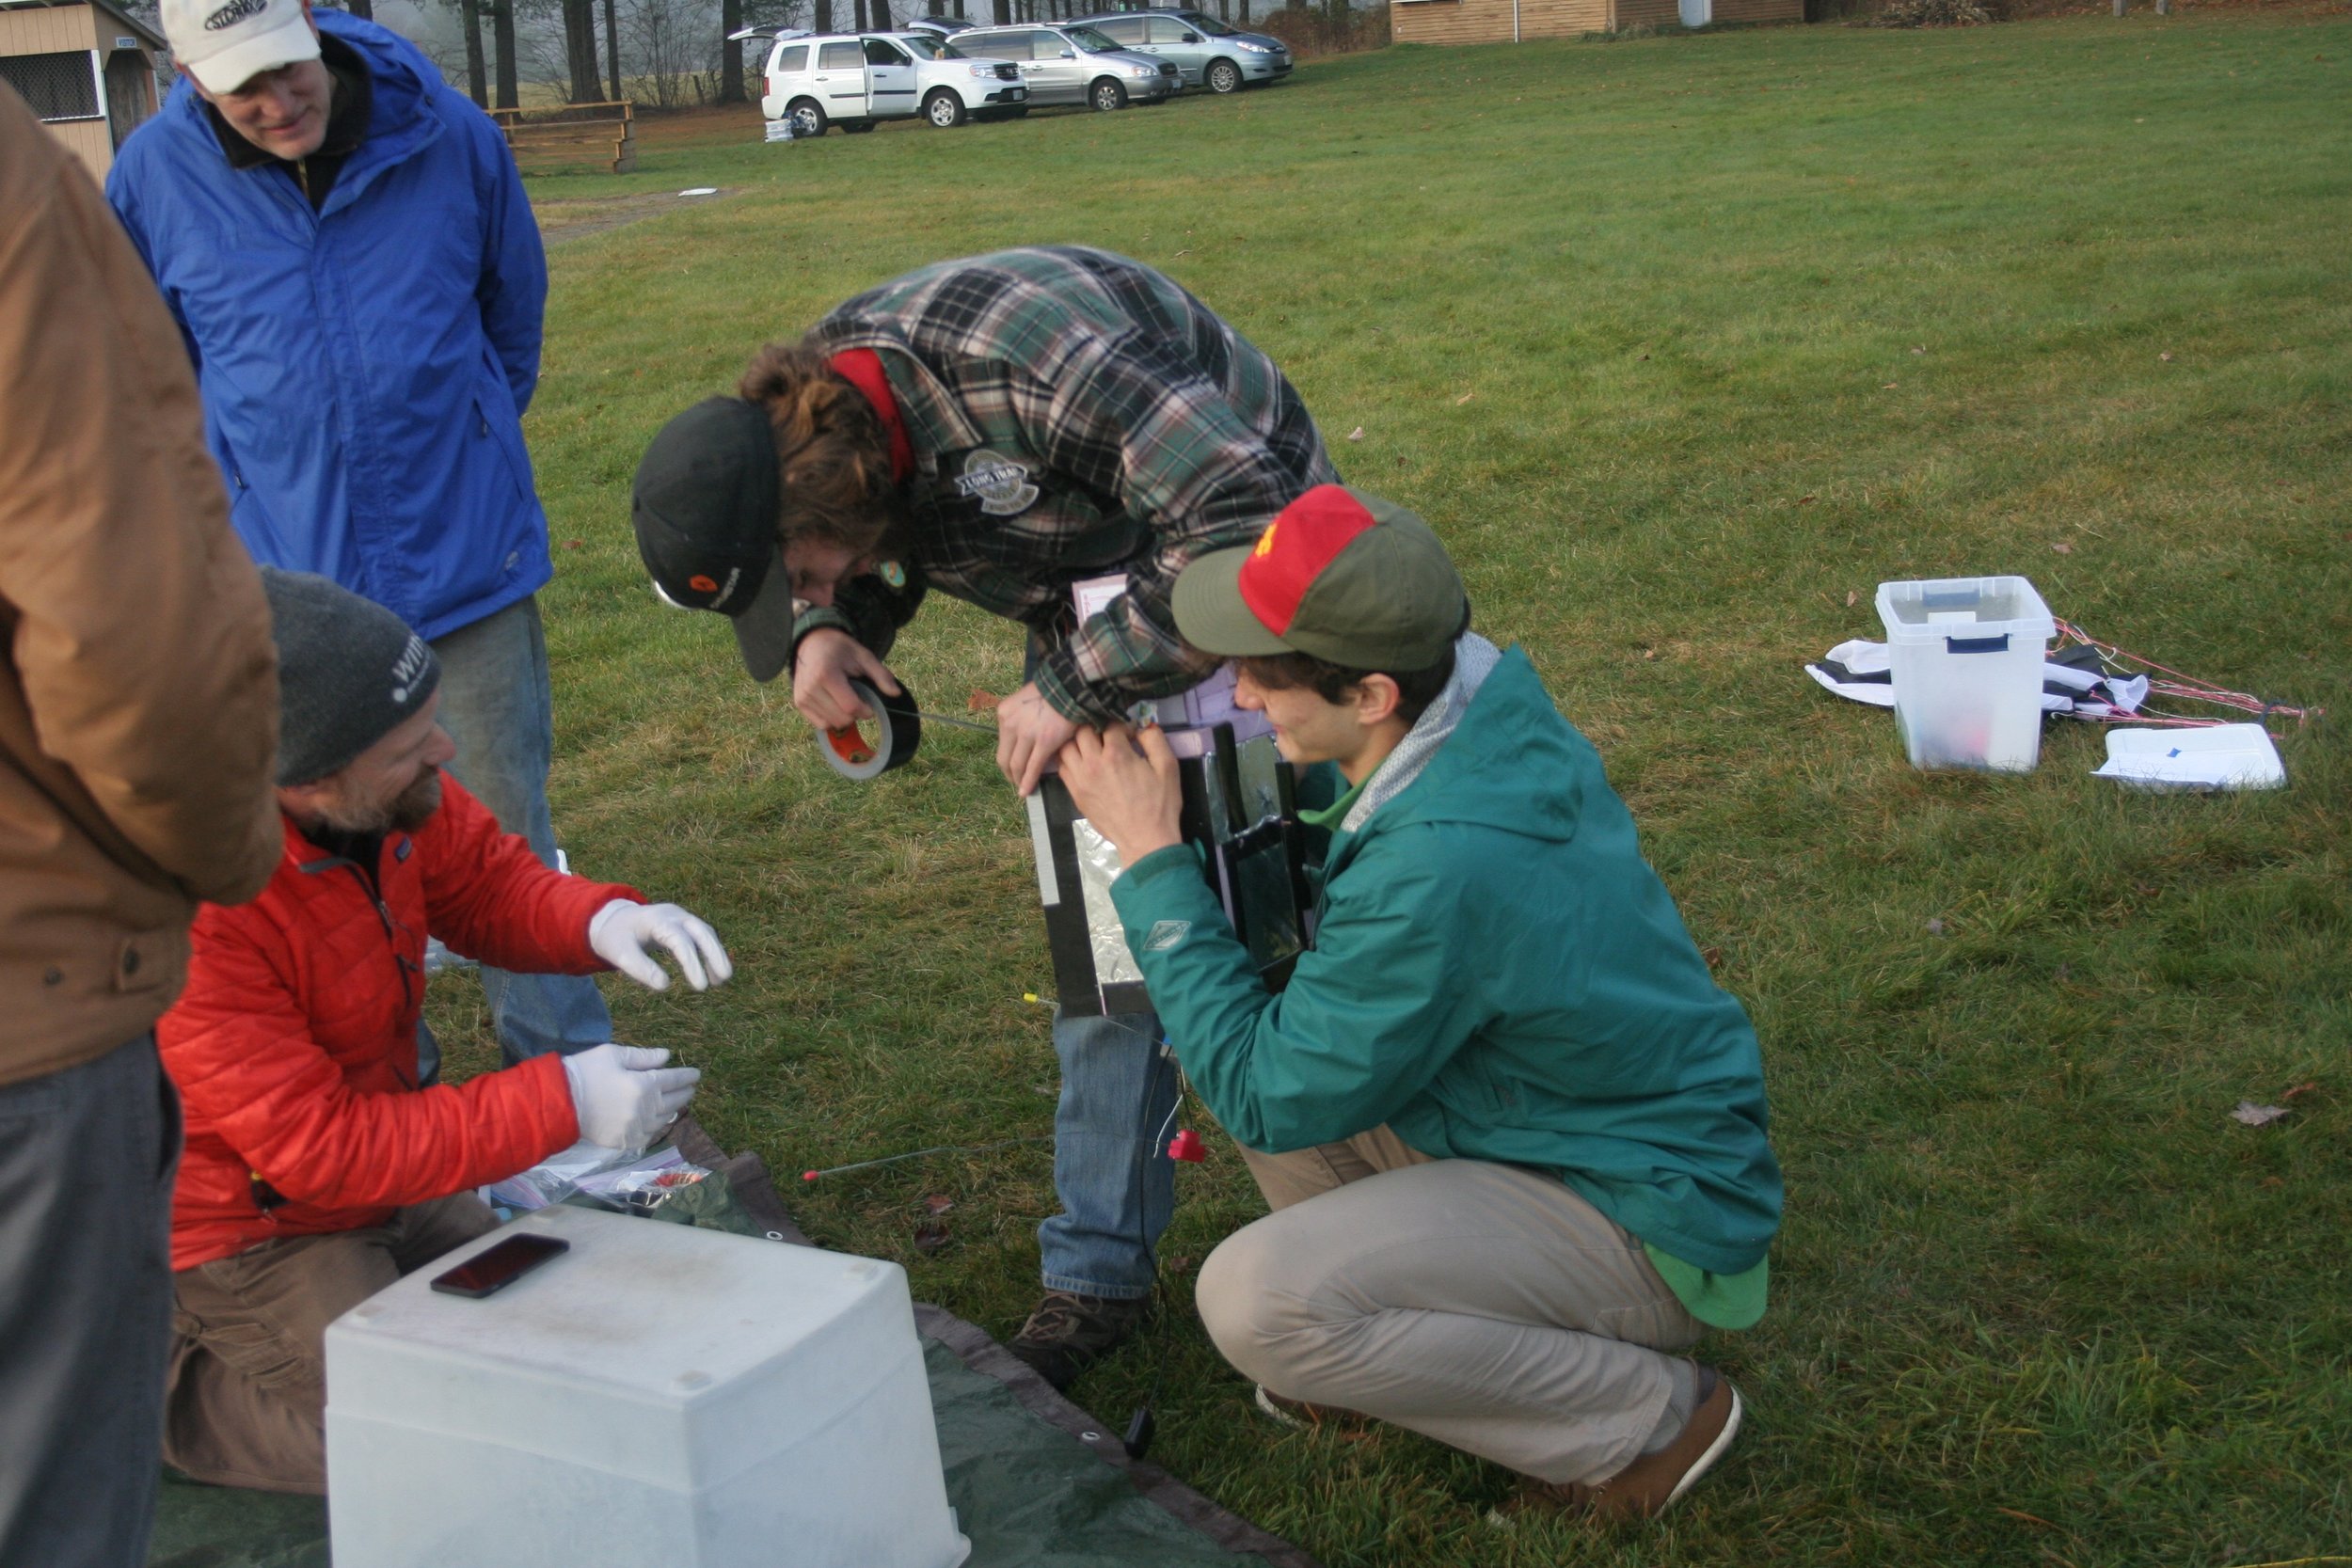
When in doubt, add more duct tape! Students seal all of our HAB components into its protective shell.

Final measurement of the balloon's lift. This value was used to help us predict the balloon's ascent rate and then its flight path.

Sorting out our parachute, formerly a large umbrella!

Nearing the final countdown!

All we can do is look up. Physics is in the driver's seat!